

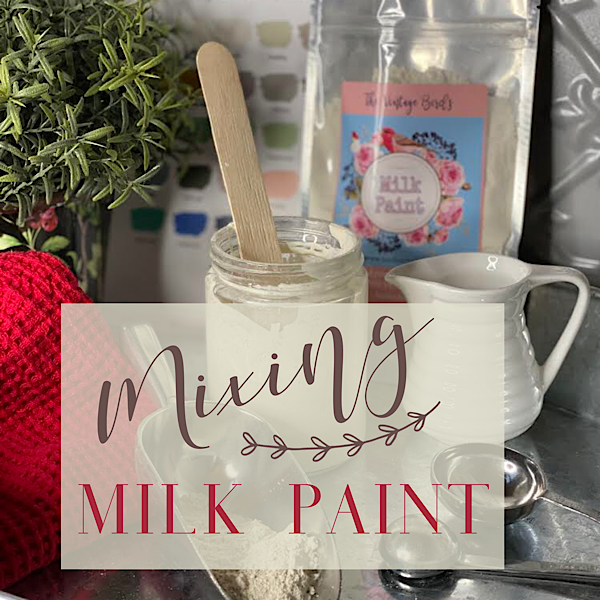

Milk Paint is One of the Oldest Paints in the World.
Find out my top 5 tips for mixing powdered Milk Paint.
If you do a bit of research regarding the history of art and painting, you will find references to milk paint dating back to ancient times. Traces of it have been found in pyramids, ancient temples, and Roman ruins. The milk paint made here at Bird on the Hill doesn't differ too much from the type used thousands of years ago.

Just think - it lasted this long on a wall in a pyramid, so it's going to provide a long lasting, durable surface for your furniture!
I'm often asked questions about mixing milk paint as it comes in powdered form. This seems to be one of the biggest stumbling blocks people have for not trying this beautiful medium.
"Too fiddly", "Worried the consistency won't be right",
“Too much mucking around - I just want to get in a start painting".
These are a few of the concerns I hear from people who haven’t tried milk paint.
I then often have this type of feedback from customers who have...
"So much easier than I thought, I'm just in love with the finish!"
So, to take the "fear factor" out of it for you, here are my five top tips for mixing and preparing your piece ready for milk paint...
1. Shake your paint well before you start.
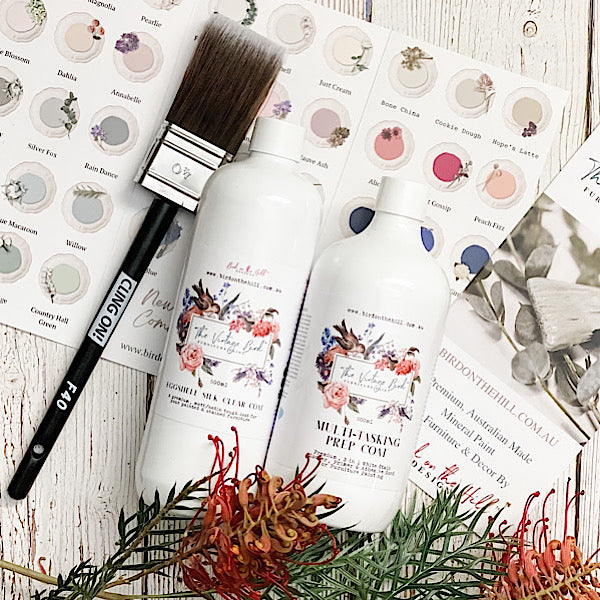
Vintage Bird Milk Paint comes in a sealed, foil lined bag. This means it is kept fresh and if you store it properly, it will last you in this form for years.
As it is a powder and the pigment used to colour the paint is mineral based, it can settle to the bottom after some time. Make sure the bag is properly sealed, then give it a good shake to ensure the pigment is evenly distributed though out.
2. Use the right type of container to mix you paint.
I like to mix my paint in something with a screw top lid, so I can store it safely between coats, or overnight, in the fridge. A re-cycled glass jar is great, but try to make sure you have one with a flat bottom, not the type with the little bump in the middle. Cleaned salsa jars are great, as they have a wide neck, and are a perfect size to make up enough paint for a good coat or two on an average sized piece of furniture. You can also use old tins, cleaned round yoghurt pots etc...
3. Be precise when measuring out your paint.
The reason why I like to do this is to also know how much water I will need. It also helps you know how much paint you have used and what you have left for another project. For example if you measured out 6 tablespoons of paint to complete a small project, this would equate to around 20gms of paint powder. Minus this from the total of your bag, and you know how much you have for your next job.
4. Use warm water to mix you paint.
This is the one point that I'm a real stickler about. It makes huge difference when you are mixing your paint. Milk Paint contains casein (milk protein) so mixing with warm water makes it easier to incorporate the protein/fats into the liquid. I also like to add my powder to the jar first, and then slowly add the water, stirring gently as I do so. I find if I add the water first, the powder sits on top of the water, and I have to stir longer/more vigorously to get it to incorporate. This leads me to my last mixing tip...
5. Don't mix your paint too quickly.
I usually mix my milk paint with a paddle pop stick. I do use a mini-whisk occasionally, but try to slow my movements down from how I would normally whisk. . Mixing too vigorously and quickly can lead to lots of air bubbles forming in your paint, causing it to become frothy. This won't hurt the paint at all, but makes it tricky to paint with, as you will usually be able to see the bubbles in your painted finish whilst the paint is still wet. These air bubbles will settle eventually, but you will find if you add the powder first, use warm water and add it in a slow stream, you don't need to mix too hard, and you certainly shouldn't need an electric stick mixer or blender.

It's a good idea to let your paint sit for around 10 minutes after you have made it to allow the colour to penetrate through. It will likely thicken a little on standing also. Make sure you give it another quick stir before you start painting.
When you are finished, you should have a paint with a creamy consistency, a little thinner than custard, but slightly thicker than single cream.
Hmmm, now I'm hungry for dessert!
Have a question? Please add it to the comments section below.
Happy Painting everyone.
Corrina xx